Multifunctional Wall Decal Installation Guide
-
Please see our installation video here, and also read the instructions below to see just how easy it is to install our decals!
3 Simple Steps
-
1. Check & Prep
Avoid fixing the decal to weak flaky paint, highly textured surfaces, damp walls or walls painted in the last 2 weeks. See our Wall Compatibility Guide here for full details.
Ensure the wall is clean and fully dry. -
2. Flatten The Decal
Lie the decal flat on the floor and weigh the edges and corners down with some flat heavy objects (like books) for a few hours (ideally leave it overnight), to flatten it out.
-
3. Peel & Press
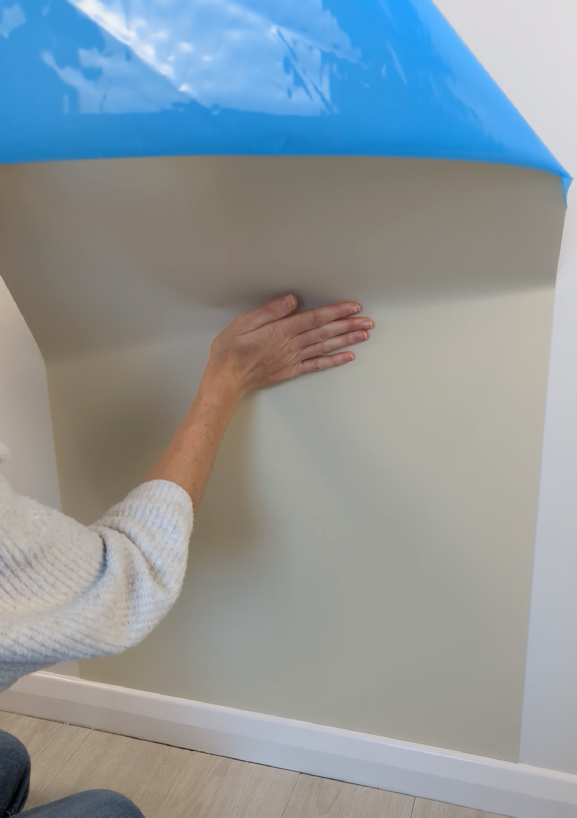
Peel off the first 10cm of the backing sheet from the bottom of the decal.
Carefully align and position the decal.
Press the bottom of the decal onto the wall.
Then peel and press the rest of the decal onto the surface. Working from the centre outwards to avoid trapped air bubbles.
Please Note
-
Cosmetic Damages
Our wall decals have a strong self adhesive backing which helps them stay up on the wall whilst being played with. Occasionally some cosmetic damage may occur from their removal, such as weak paint peeling off. Often this can be fixed by simply fillering and/or sanding and repainting the affected area. Please check out our FAQ sections for help with decal removal.
-
Semi permanent
Our decals are not designed to be moved multiple times. Although it is generally possible to peel off the decal and stick it up again, it is not recommended. Since each time the decal is removed the glue will weaken slightly, and may not stick as well the next time.
-
Disclaimer
Archie & Mags does not accept any liability for any damages to walls or other surfaces caused by the installation, use or removal of any of our products.
